A step-by-step guide to building your first home
Building a house can be an exciting time in your life. The endless possibilities of what you can create can be thrilling. But, all the uncertainties and major work ahead can be anxiety inducing. Careful research and understanding the building process can help you make informed decisions. With our guide below, we hope that you’ll be able to learn more about the building process and in turn, confidently navigate your way through it if you choose to build your home.
Choosing the right block of land
The first step in the process is choosing a block of land that suits your needs and preferences. But, they all look the same right? The blocks of land shown to you by developers may look similar in size and shape. Yet, each block has its own set of characteristics. When it comes to choosing the ideal block, the main questions to ask yourself are:
What is the size of the block?
This question relates back to the type and size of house you have in mind. Make sure that the block of land you're considering is large enough for your ideal house.
Are there any easements on the block of land?
An easement is a designated section of the land that gives access rights to your property. Workers from the council and governing bodies enter easements to install, replace or maintain essential services on your property. These essential services include things such as drains and data cables.
You'll need to keep in mind that you can't construct on or within a certain proximity to the easement. An easement may also limit the amount of space you have on the block to build your home.
Are there any building covenants that restrict the block of land?
Building covenants are a set of rules on the block. They outline the types of buildings that can be constructed. Some blocks of land will have covenants that will impact your decision making.
For example, one block of land may only permit you to build a double storey building. Others may only allow you to construct a single storey house.
Make a decision on the type of house you would like and be aware of any covenants that may impact this. This is an essential consideration before you make a commitment to the purchase of land.
What are the potential site works and costs associated with building on the block of land?
If you're finalising your choice on a block of land, it's a good idea to get further details from the developer. They'll be able to send you through engineering details and plan of subdivision. We recommend that you send these details to a builder of your choice before committing to the land.
A builder will be able to do an initial assessment of the details you provide them. They'll be able to figure out things such as:
- the fall of the land
- a rough estimation of site costs
- how much of the land needs to be excavated
- the slab requirements
The block of land you're looking at may need significant site works, which means the costs can start to creep up. At this stage, work out if the site costs are within your budget range. After your assessment, you may come to find that you need to choose another block if you're trying to save costs.
What is the orientation of the block?
From the engineering details and plan of subdivision, your builder will be able to confirm if your home will be situated in the best solar orientation.
We recommend buying a block of land where your main living areas face north. These rooms will make the most of the sun's warmth and natural lighting. This effortless feature means your house will receive at least a 6 star energy rating - without the need for costly extras and upgrades.
Choosing a builder
In Victoria, there are hundreds of builders to choose from. Picking one that’s right for you can be a confusing and lengthy process.
One of the best places to start would be doing an online search of some builders and the floor plans that they offer. From there, you can visit some display home villages to see the homes in real life. Builders won't have every floor plan that they offer on display in a village, but they usually have most on hand.
How many bedrooms, bathrooms, living areas and levels do you want in your ideal home? Knowing what your non-negotiables are prior to looking for a floor plan is important. This will help you narrow down your favourites and make your choice easier.
Visiting a display home in person should help provide you with some clarity. You'll be able to figure out if you're on the right track, or you may decide that you need to go back to the drawing board.
When visiting a display home, you'll also want to observe the quality of work. Most builders have the same trades build their display homes as well as the actual homes for buyers. This is a great indicator of the type of quality you should be expecting to receive from that builder. The process of building a home can be an emotional experience. Based on what you see online, you might already be in love with a floor plan or the building company. But, the quality of work at the display home might not meet your expectations, and this may rule them out as an option.
Lastly, knowing what the builder offers as standard inclusions with the base price they advertise is essential. Often, display homes have the top of the range features built into them. What you see may not even be close to what you get in real life, based on your budget.
Once you know what the standard inclusions are, you can do a cost benefit analysis exercise. This will give you an idea of how much more you will need to spend to make this the home of your dreams.
Pre-construction phase
So you’ve chosen a builder, great! Now, here comes a tricky step. You’ll need to jump through a series of pre-construction hoops before receiving a permit to build.
This is a step that most people are shocked by as it can be a very lengthy one. Most builders will tell you that this process is roughly 3-4 months. Pre-construction includes a series of appointments, applications and internal processing. Every builder's process is different, but the general guide of this process is:
Step 1: Selections and Document signing appointments
You’ll usually have to attend more than one appointment with your builder. There isn't a sequential order when it comes to these meetings.
These appointments will be in relation to:
- basic site costs
- costs associated to your property
- signing off documents
- electrical selections
During these appointments, you'll be prompted to make cosmetic selections, including:
- flooring
- paint colours
- fittings and fixtures
At this stage, you'll be able to gain a more accurate idea of the costs associated to building your home.
Step 2: Permits and approvals stage
A building surveyor or council are usually the parties that can issue a building permit. Your builder will need to have an in-depth permit application checklist. This is to ensure that the surveyor or council can assess the checklist. If the checklist meets their criteria, they'll be able to issue you with a building permit.
Usually, your builder will be responsible for making the applications on your behalf. But, there are times where they may instruct you to submit the applications yourself.
The main applications needed to get a building permit are:
Developer approval:
This is an application made to the developer of the estate. It details your floor plans/design, external colour selections and materials schedule. It may also include any extra other information they need.
Developers have a set of guidelines that your selections will need to adhere to. You'll need to ensure that your design and colour selections fit their criteria. The guidelines are there to ensure that there's continuity of the streetscape. In the long run, it'll ensure your property value remains consistent with your surrounding neighbours.
The developer approval application can take anywhere from 1 week to 4 weeks to be approved. But, every estate has its’ own timeframes.
Plumbing Industry Council (PIC) application:
This is an application made to the local water authority. It asks for their consent to connect their network to your property.
The PIC application can usually be made online. The application will need to be accompanied by a set of plans and the details of the licensed plumber set to work on your property.
Once the application has been approved, a licensed plumber will be able to connect a water meter to your property. The approvals range from instant approval to 4 weeks. All water authorities will have their own timeframes.
Asset protection permit
This is an application made to your local council before commencing construction. It safeguards against any potential damages to council owned assets during the construction of your property. These council owned assets may include:
- footpaths
- crossovers
- roads
- drains
- signs
- nature strips
- nature strip trees
In the event that damage does occur during construction, this permit will ensure that damages are minimised and repaired without cost to ratepayers.
Alongside this application, images of the existing condition of the assets are taken and submitted. A map of damages (if any) are also included. Some builders will submit this on your behalf, but other builders will request that you submit this yourself. Approval will usually be received within 3 weeks of application.
6 star energy rating
Your builder will send your documentation to an energy assessor. The energy assessor will let you know if you need to amend your plans to meet a 6 star energy rating. But, if you've picked the right block, your plans may already meet the criteria.
Other applications
You may need to apply for other applications if you're building outside of the building codes or guidelines.
Some of these include:
- Build over easement consent (council assets, water authority assets or both)
- Report and consent (dispensation)
- Planning permit
- Protection works notices
Your builder should advise if you need to apply for any extra applications. They'll also provide you with an estimated timeline. These type of applications can take 1 to 3 months to be approved.
Step 3: Production and internal processing
This is the last pre-construction stage. The builder should have all of the above permits and approvals in preparation for finalising your documentation.
At this stage, the internal team will
- finalise your drawings
- prepare the permit application
- order the materials for the first stages of construction
Once your permit has been approved, the builder will have you sign the final permit stamped documentation and provide you a construction commencement date.
Construction and settlement process
This stage is usually where the excitement begins for you as a homeowner. Before this stage, you would have been trying to visualise all of your selections coming together. Now, it will all start to become a reality for you.
All builders will have slightly different methods and timelines of construction. Below, we have listed an indicative guideline of what to expect:
Base stage consists of:
- Site cut
- Site set out (a qualified company will set out the footprint of your property on your block to ensure the home is constructed in the exact position it is intended)
- Excavation
- Concrete piers, retaining walls or any other requirements before slab pour
- Base preparation
- Base pour
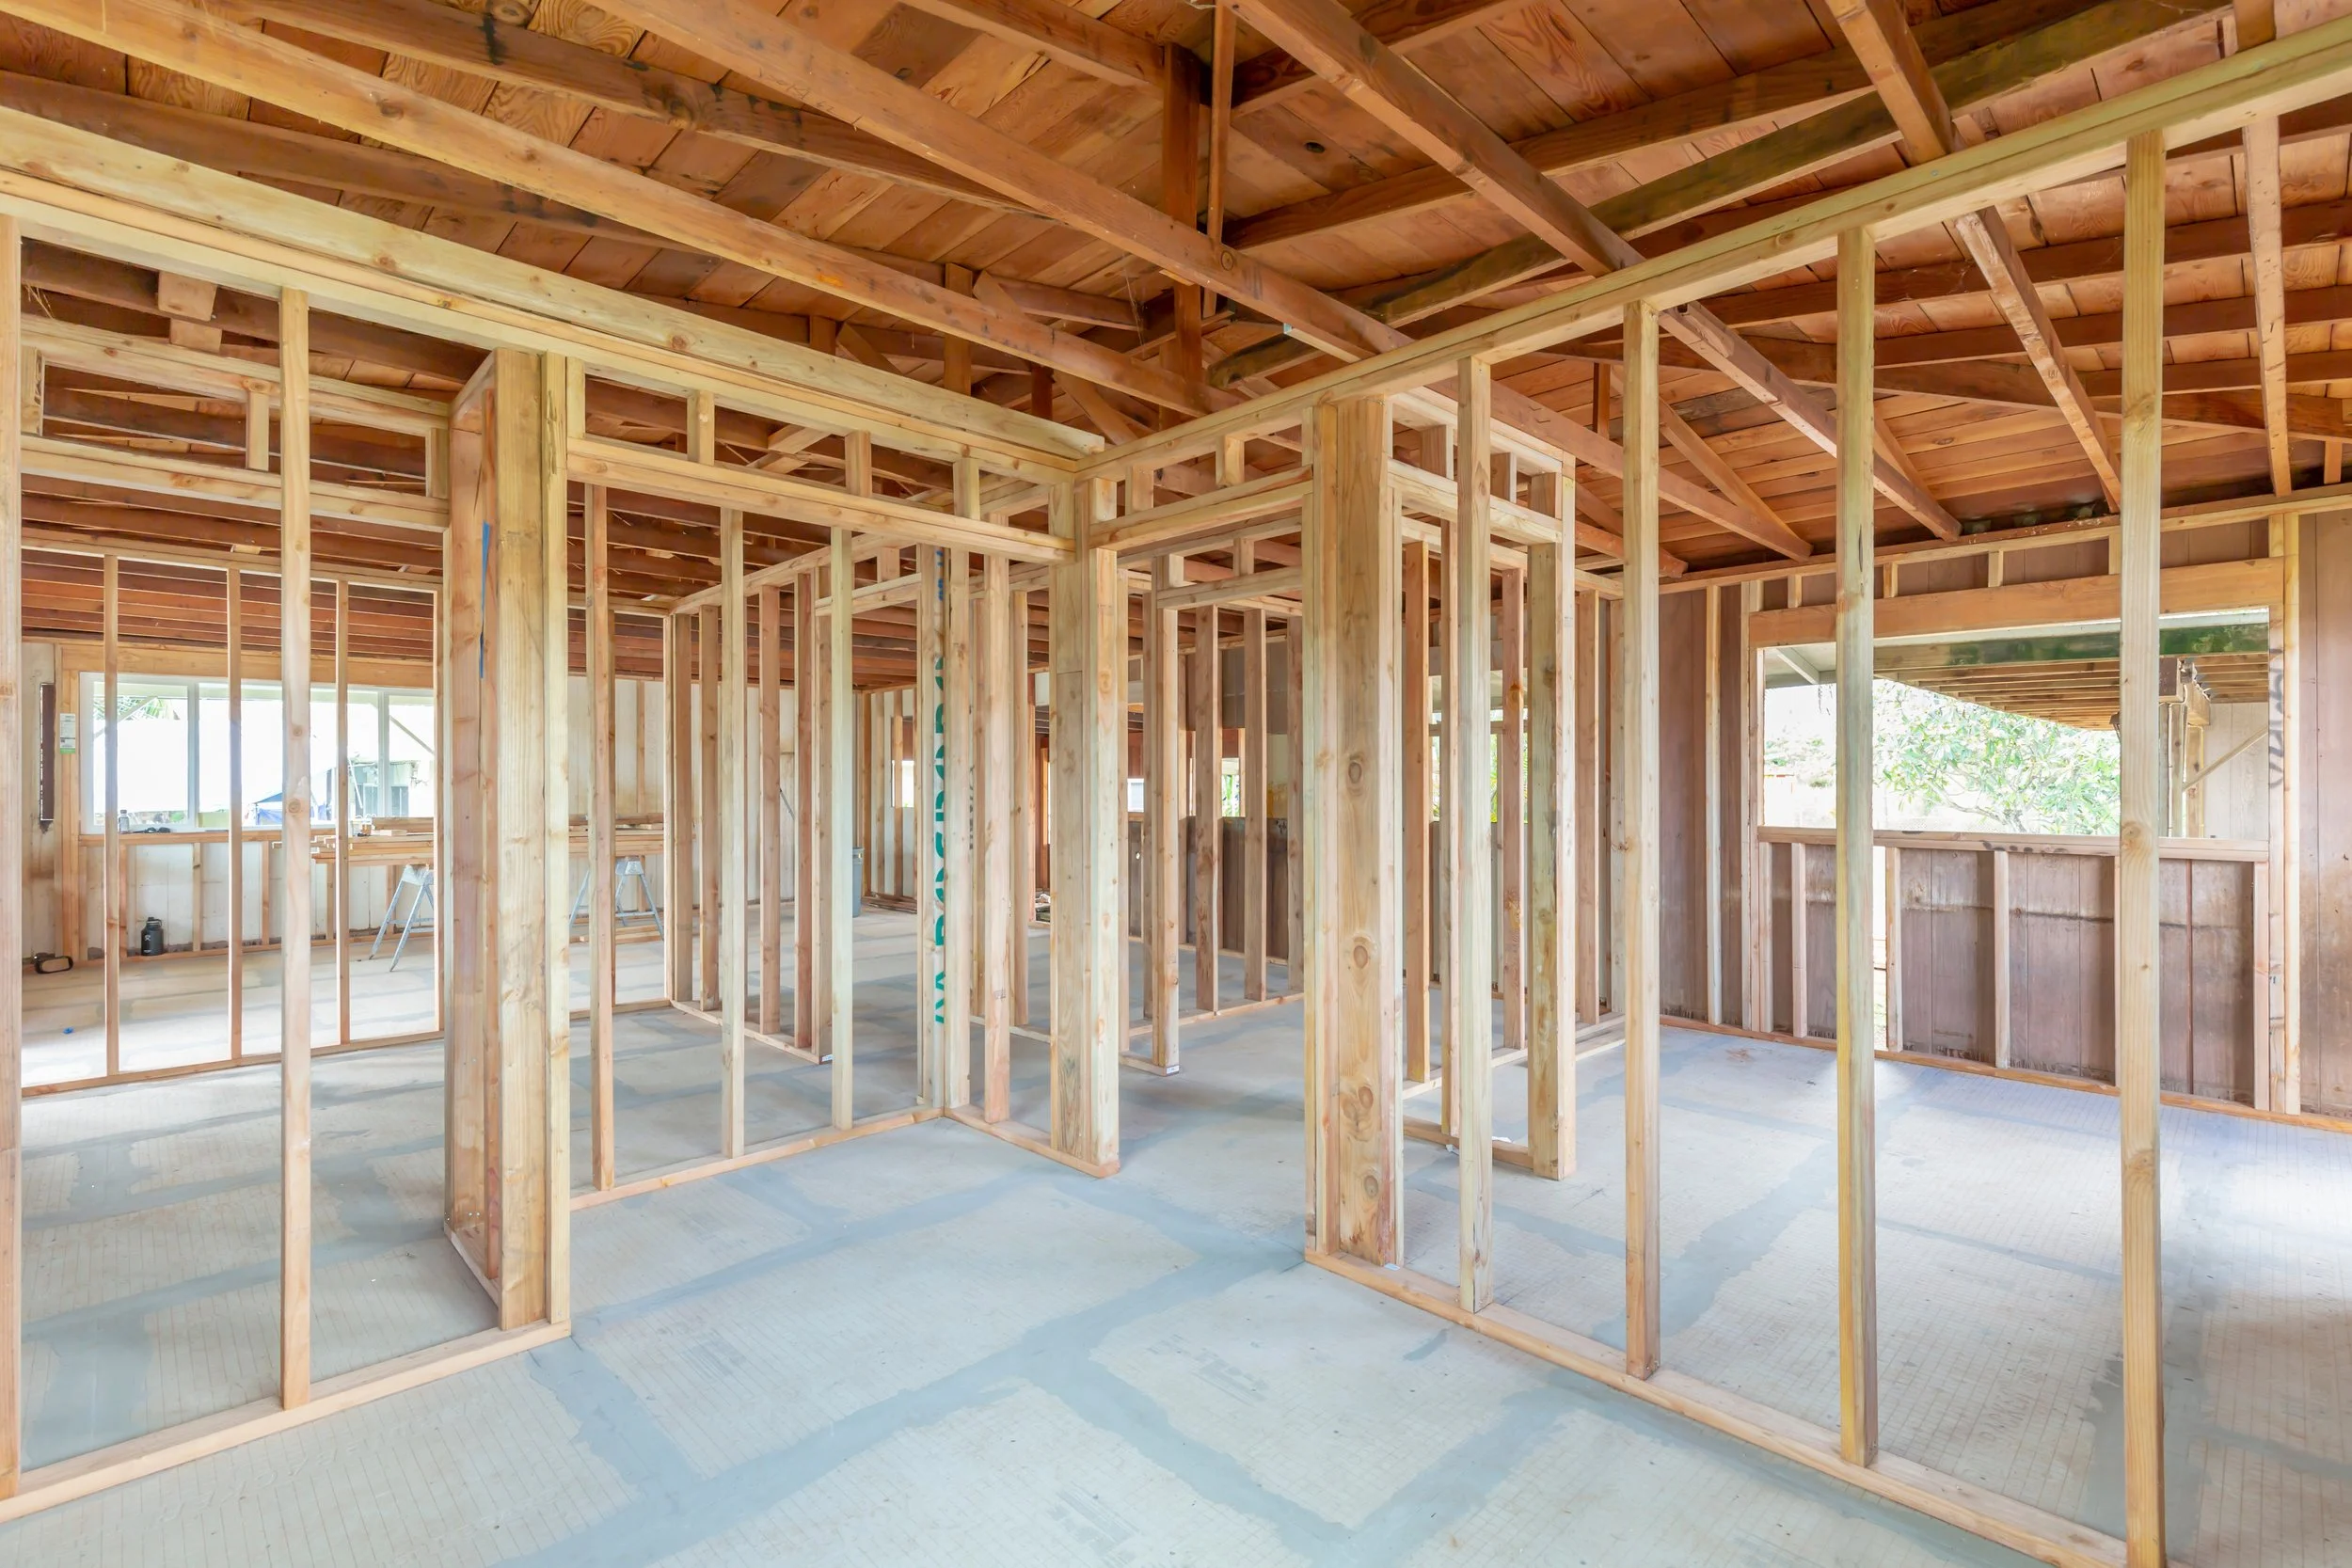
Frame Stage includes installation of:
- Frame commence and complete
Lock up stage includes installation of:
- Roof cover (tiles or metal)
- Fascias and gutters
- Plumbing rough-ins
- Electrical rough-ins
- Heating rough-ins
- Cooling rough-ins
- Insulation/wall batts
- External materials (bricks, render, cladding etc.)
- External doors
Fixing stage includes installation of:
- Plaster
- Eaves and external carpentry
- Waterproofing
- Downpipes
- Cabinetry
- Stone benchtops
- Internal carpentry (architraves, cornices etc.)
Final stage includes installation of:
- Painting
- Tiling
- Final fixtures and fittings (plumbing, electrical, heating & cooling etc.)
- Shower screens, mirrors & robe doors
- Shelving
- Flooring (timber, carpet etc.)
- Garage roller door
- Any additional items that will complete the home if included in your contract (blinds, landscaping, clothes line etc)
At each construction stage, your builder should offer you a walkthrough of your home. You can also engage a specialist to conduct a building and/or structural engineering inspection for your peace of mind. Specialists will ensure that your home is being built in accordance with the Australian building standards and codes.
Once the home is completed, the builder will provide you with a practical completion inspection. This is usually your final inspection, before the home is handed over to you for settlement.
At this stage, the builder will send through compliance certificates to the building surveyor. These compliance certificates are the ones that were received by the relevant trades. The building surveyor will then be able to issue the occupancy permit. This gives you the green light to move into your new home.
How can we help?
Are you planning on building your home? Feel confident in your decision making by having essential information on hand. At Arbiter Group, our engineers can design, review and inspect throughout the building process. This will provide you with certainty that the structural integrity of your home is sound. If you suspect there are structural issues with your home, don’t wait, get in contact today to find out how we can help you.


